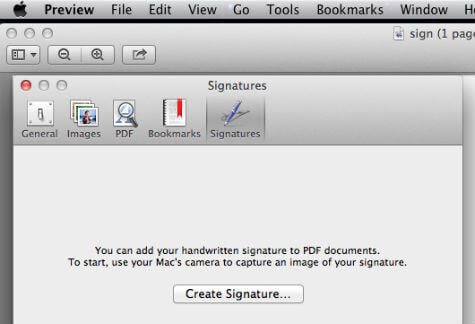
It is a matter of sign on a white paper and holding that paper in front of the MAC camera to capture the signature. The Preview will automatically save your signature and you can reuse this wherever you want in future. To begin, get a white paper with your signature. Open your PDF file that required the signature. Now go to Preview > Preference > Signatures > Create Signature.
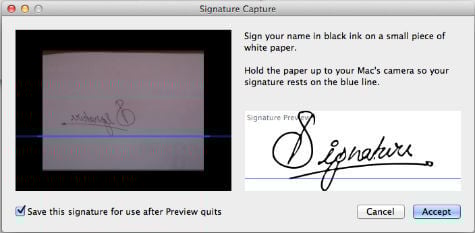
Hold the signed white paper in front of the camera and align paper with the line on camera preview.
Now you can click on Accept and close the preference window. Your signature is saved as the digital signature and saved in the system.
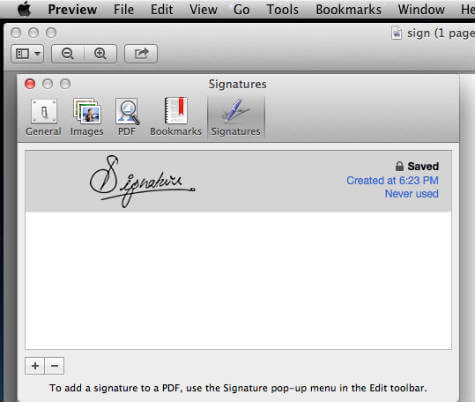
You can create multiple signatures using this method and name it accordingly. It is coming to handy when you have to sign and initial some documents.
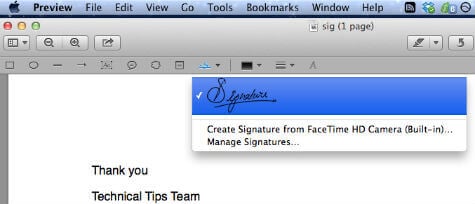
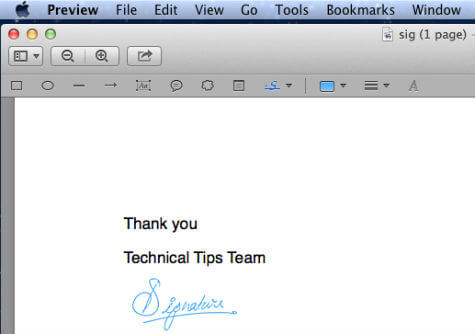
Now make sure your Edit toolbar is turned on. If not, Click on View > Show Edit Toolbar. Now you will see a small icon on edit menu named and signature. click on that and you can see all the signs that you save into your system.
Now it is a matter of simply insert the signature on the required place you want and you can resize the signature if you want. At this point, you can change the color of the signature insert into the desired location. Finally, save and close the file and you are done. Please be aware that there is a security risk for keeping your signature in your system. This method is not providing any encryption to your signature file and a body can access it if they can log in to your system.
Δ